Cheesy Baked Chilaquiles is an easy breakfast casserole with scrambled eggs, cheese, salsa, and tortilla chips. A tasty fun twist on a popular Mexican dish!
Take easy Oven Scrambled Eggs to the next level with this delicious and flavorful Breakfast Recipe for a crowd! This south of the border inspired casserole makes a great brunch dish!

CHEESY BAKED CHILAQUILES
This Cheesy Baked Chilaquiles recipe takes a classic Mexican Dish and makes it incredibly easy! These scrambled eggs are so fluffy and moist, you won’t believe they were made in the oven. They only take about 30 minutes to bake, so this egg casserole is a great quick weekend breakfast.

Cheesy Baked Chilaquiles are made with ingredients you are sure to have on hand. This delicious recipe is made with 24 eggs, so there will be plenty to go around and eat the rest of the week. Make this Baked Chilaquiles casserole with leftover chicken or ground beef for an easy and hearty breakfast for dinner.
Whether you serve it for breakfast or for dinner, no Cheesy Chilaquiles would be complete without beans. You can add beans in the egg mixture, or serve with a side of Black Beans or Refried Beans. If you are making Cheesy Baked Chilaquiles for dinner, try them with a side of Mexican Rice or a bowl of Taco Soup.

These Cheesy Baked Chilaquiles are the perfect breakfast for a crowd, especially during the holidays. Make the Baked Chilaquiles the night before and warm in the oven for brunch. Serve with a topping bar of traditional Mexican-style garnishes, like the suggestions we have below.
WHAT TO SERVE WITH CHEESY BAKED CHILAQUILES
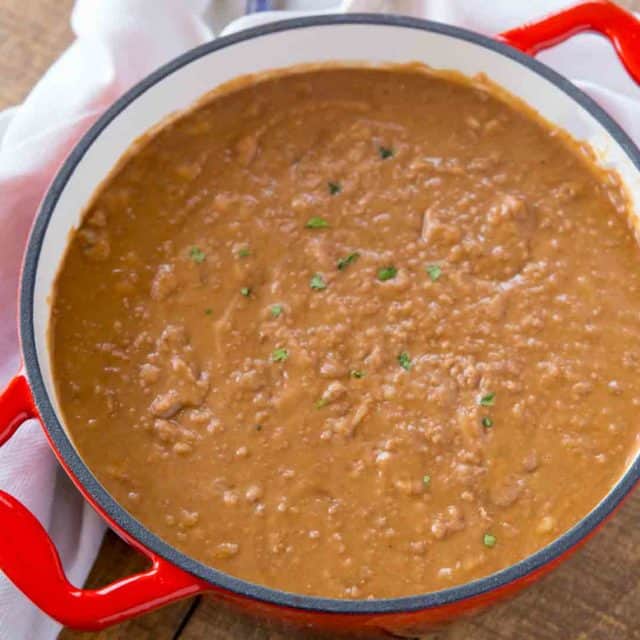
Easy Refried Beans

Spanish Rice (Mexican Rice)

Classic Chicken Enchiladas
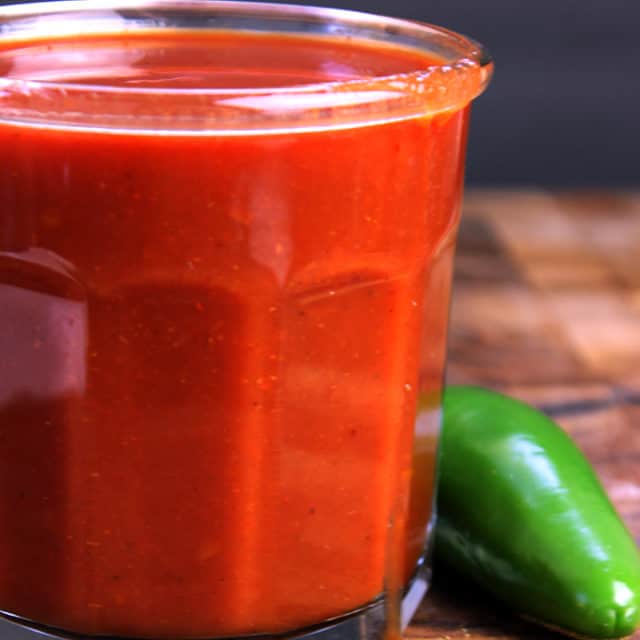
Best Homemade & QUICK Enchilada Sauce (Top 10 Ways to Use It!)
MAKE CHEESY BAKED CHILAQUILES AHEAD
These Cheesy Baked Chilaquiles can be made ahead two ways. The first way is to prepare the egg mixture and keep refrigerated in a sealed container for up to 3 days. Pour scrambled eggs in a casserole dish and bake as usual. The second way is to cook the Cheesy Baked Chilaquiles fully. Wrap with plastic wrap and aluminum foil tightly and freeze for up to 6 months. Remove plastic wrap before reheating covered with foil at 300 degrees until hot.

Create a free account to Save Recipes
VARIATIONS ON CHEESY BAKED CHILAQUILES
- Toppings: Serve with toppings like fresh cilantro, green onion, sour cream, Mexican crema, fried tortilla strips, avocado slices, lime wedges, and diced tomatoes.
- Meat: Fold in 1 cup cooked bacon, Italian sausage, chorizo, or taco meat. Make an easy chicken taco meat mixture with Taco Seasoning and shredded Rotisserie Chicken.
- Beans: Stir in a can of beans like pinto beans, black beans, kidney beans, or white beans. Drain and rinse the beans before adding.
- Cheese: Swap out the cheddar cheese for Mexican-style cheeses like queso fresco or Monterey jack. You could also use mozzarella cheese, Swiss cheese, or spicy pepper jack cheese.
- Veggies: Add finely diced veggies like green onions, red onions, spinach, or bell peppers. Try canned green chiles or diced jalapeños for a traditional spicy flavor.
- Salsa: Use any store-bought salsa you prefer, either red tomato salsa or tomatillo salsa verde. You could also swap the jarred salsa for Enchilada Sauce, Homemade Restaurant-Style Salsa, or seasoned tomato sauce.

Slow Cooker Cheesy Chilaquiles
- Coat the inside of the slow cooker with butter or cooking spray.
- Add the eggs, milk, salt and pepper to the slow cooker and whisk until combined.
- Cover slow cooker and cook on high for 1-2 hours, until eggs are almost set.
- Stir egg mixture and fold in tortilla chips, salsa, and cheddar cheese.
- Cover with lid and cook an additional 15-30 minutes, until cheese is melted.
MORE BREAKFASTS FOR A CROWD
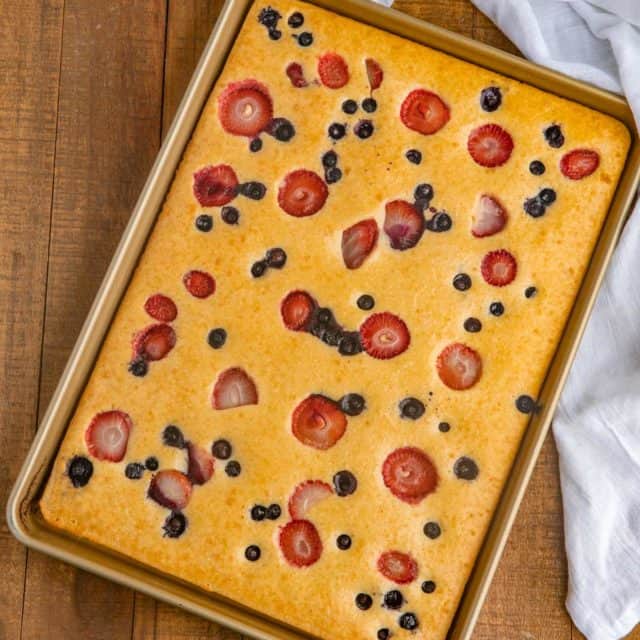
Sheet Pan Pancakes

Cinnamon Raisin French Toast Bake
Slow Cooker Cinnamon Rolls

Everything Bagel Breakfast Casserole
HOW TO STORE CHEESY BAKED CHILAQUILES
- Serve: You can keep these Cheesy Baked Chilaquiles at room temperature for up to 2 hours before you need to refrigerate them.
- Store: Wrap casserole dish with aluminum foil and refrigerate Cheesy Baked Chilaquiles for up to 4 days. Reheat in the oven on low heat or individual servings in a skillet.
- Freeze: Once cooled, cover Cheesy Baked Chilaquiles dish with plastic wrap and then aluminum foil. Freeze casserole for up to 6 months and reheat from frozen in oven, covered with foil.


Cheesy Baked Chilaquiles
Ingredients
- 1/4 cup unsalted butter , melted
- 24 large eggs
- 2 teaspoons kosher salt
- 1/4 teaspoon coarse ground black pepper
- 2 cups whole milk
- 3 cups tortilla chips
- 1 cup fresh salsa
- 1 1/2 cups cheddar cheese , shredded
Instructions
- Preheat the oven to 350 degrees and add the melted butter to the bottom of a 9x13 baking pan.
- Whisk together the eggs, salt, pepper and milk in a large bowl before adding it carefully to the baking pan.
Bake (uncovered) for 12-15 minutes then stir.
- Add tortilla chips, salsa and cheese over the eggs.
Bake for an additional 15 minutes or until the eggs are set.