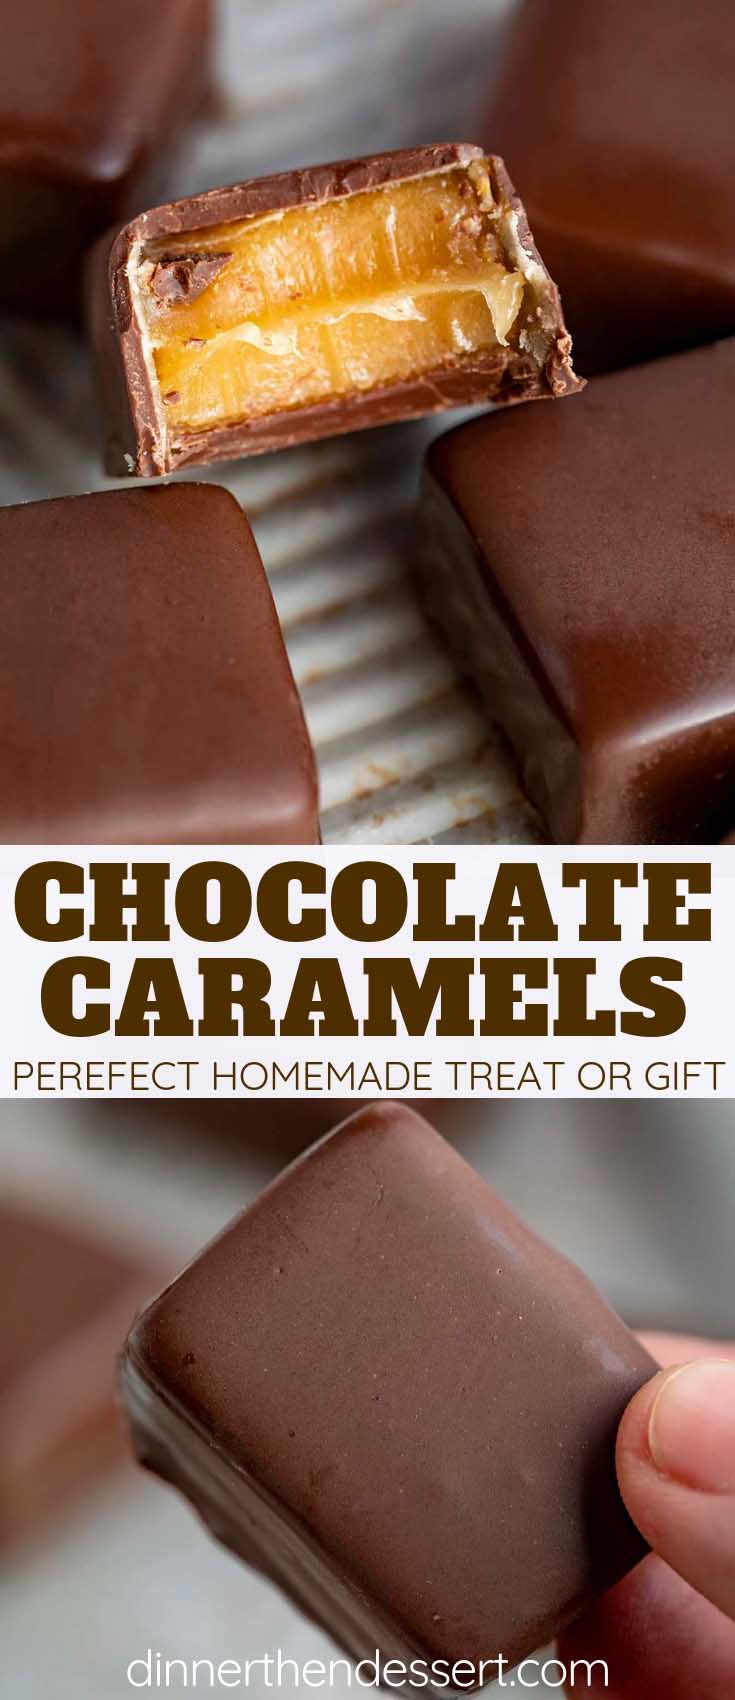
Chocolate Covered Caramels are soft, chewy, and PERFECT for the holidays, made with sugar, butter, vanilla, and heavy cream, then coated with sweet chocolate.
We’re gathering all of our favorite Valentine’s Day desserts this week, and right now we’re loving these Oreo Balls, Chocolate Covered Strawberries, and Chocolate Truffles!
 CHOCOLATE COVERED CARAMELS
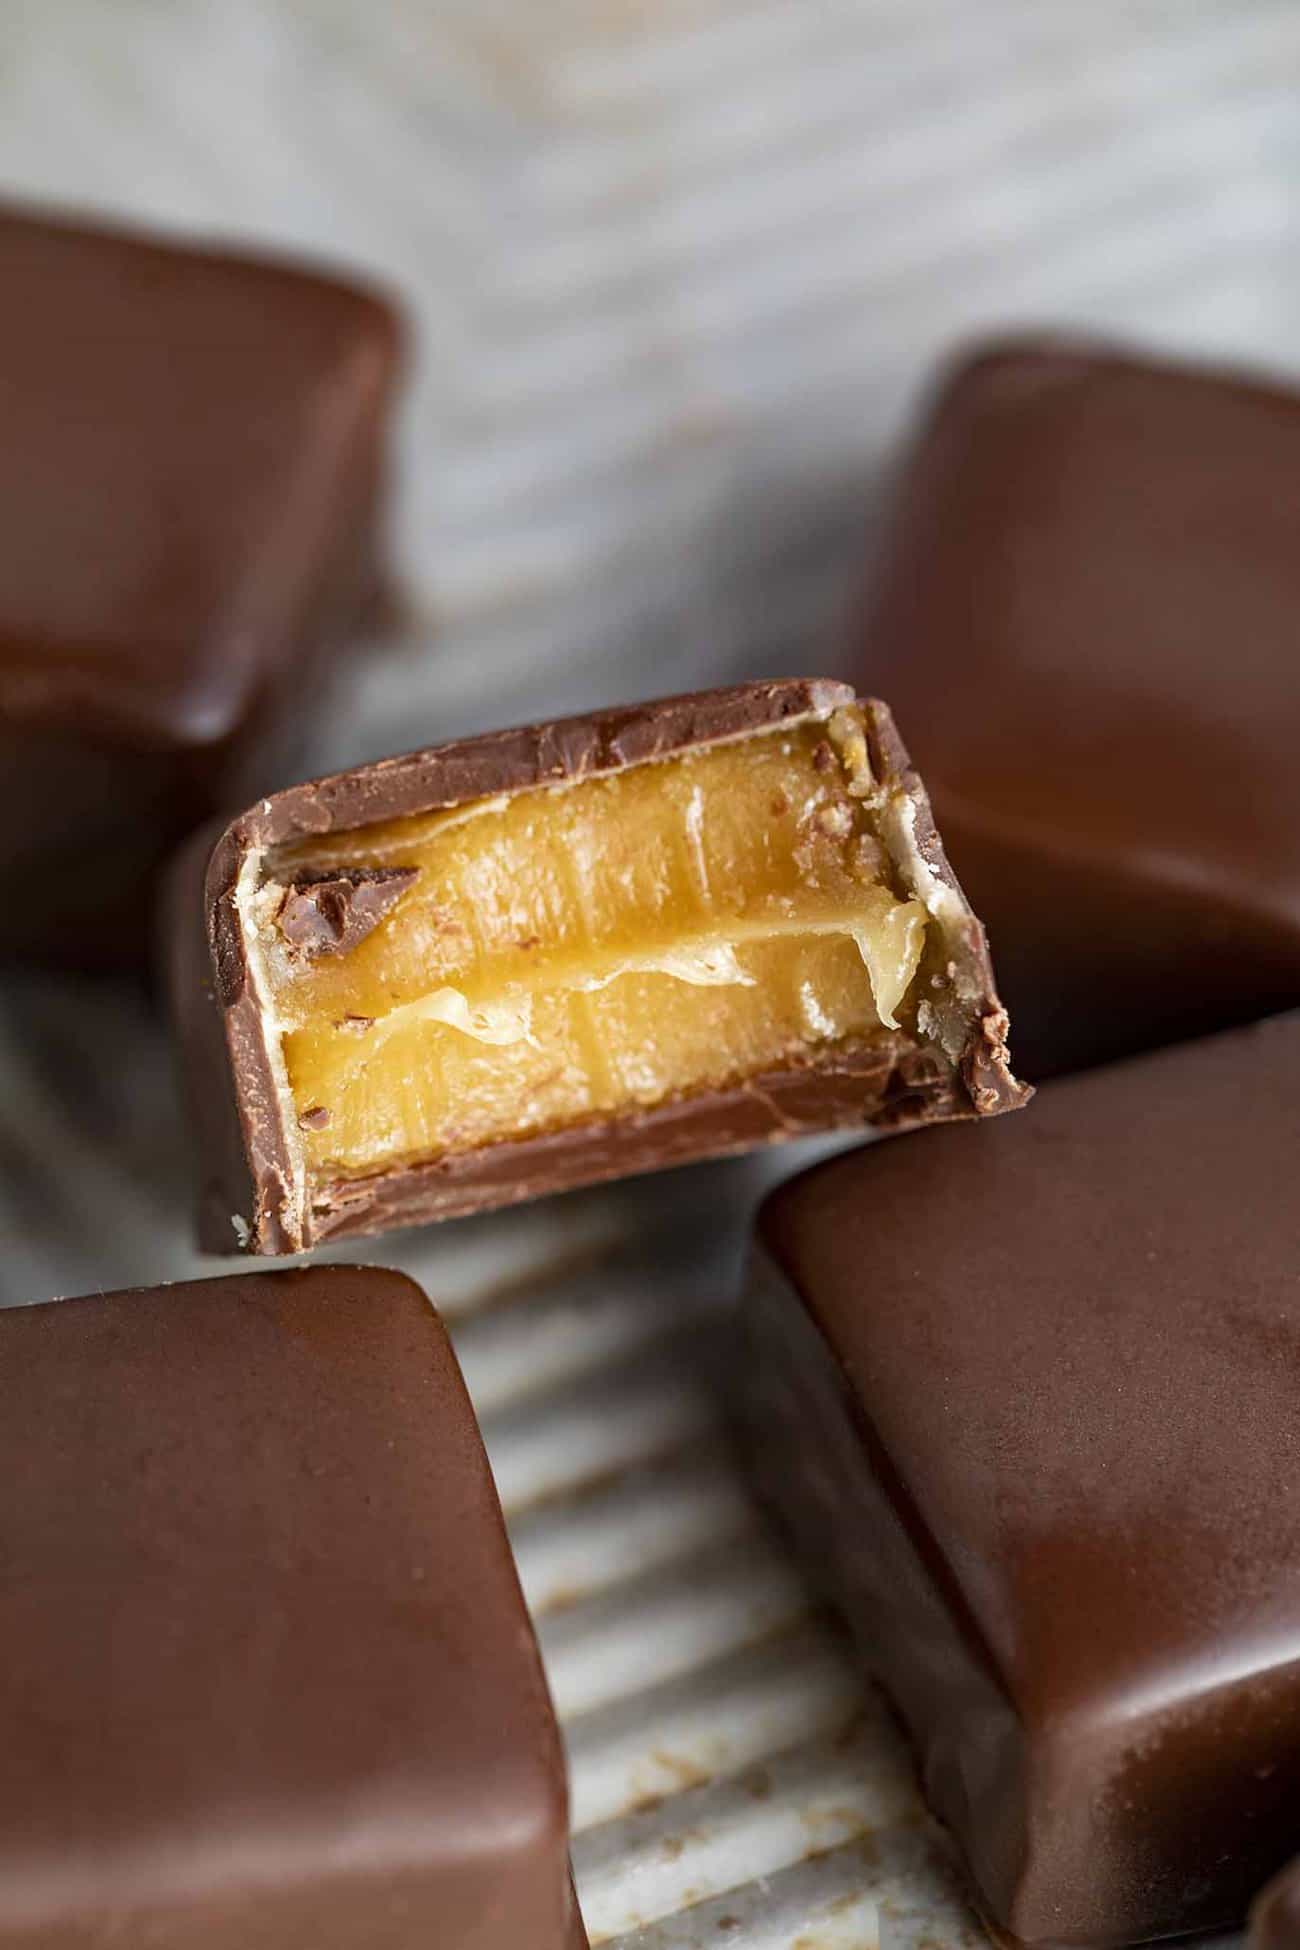
Chocolate Covered Caramels are sweet and chewy, and a fun dessert to make at home. This recipe uses a combo of sugar and corn syrup, mixed with cream, vanilla, and butter, then hardened, cut into pieces, and dipped in melted chocolate. It’s the PERFECT candy to give out as gifts, and my go-to when I need something sweet to serve at a party.
You can coat these soft caramels with semi-sweet dark or milk chocolate, and top with sea salt, sprinkles, or drizzle decoratively with extra caramel. I like to serve these with chocolate dipped homemade marshmallows!
HOW TO STORE CHOCOLATE COVERED CARAMELS
Chocolate caramels can be stored in an airtight container at room temperature. Try to avoid keeping them in areas that are very warm, like in the sunlight near a window, because they can melt.
You can also refrigerate or freeze these chocolate caramels, but keep in mind that the chocolate can form condensation. If you plan on serving these at a party or giving them as gifts, I would avoid the cold temperatures.
HOW LONG DO CHOCOLATE COVERED CARAMELS LAST?
Chocolate caramels will last for 2-3 weeks when stored at room temperature. Use wax or parchment paper, if you haven’t used candy wrappers, to keep the caramels from sticking to each other.

Create a free account to Save Recipes
MORE CHOCOLATE AND CARAMEL RECIPES
- Valentine’s Day Chocolate Oreos
- Easy Chocolate Cake
- Salted Caramel Brownies
- Chocolate Ganache
- Chocolate Covered Pretzels
- Salted Caramel Chocolate Oreo Bars
TIPS FOR MAKING CHOCOLATE COVERED CARAMELS
- Try making a different variation of these caramels with white chocolate, for white chocolate covered caramels! Use red sprinkles for a holiday version.
- You can top these chocolate caramels with sea salt, or fleur de sel.
- Use plastic or paper candy wrappers to wrap the individual candies. You can give them out as Valentine’s Day gifts!
- You can replace the heavy cream in this recipe with whipped cream or unsweetened condensed milk for a richer caramel recipe.
- Use a candy thermometer to make sure your caramels turn out with the right texture. Making caramel depends a lot on the temperature of the melted sugar, because sugar will react differently when it’s melted and brought to different temperatures.
- I don’t recommend using chocolate chips in place of the chocolate disks. The disks will turn out smoother, and look better on the caramel candy.
- Try to find a candy thermometer that clips to the side of your saucepan to make things easier.
- These caramels would work with salted butter or unsalted butter, but I prefer to use unsalted so I can control the amount that goes into this recipe.
- You can use granulated sugar or brown sugar, but keep in mind that the brown sugar will add a molasses type flavor to your chocolate caramels.
- Parchment paper will be your best friend here. Line your baking sheet with parchment paper or wax paper to keep the caramel from sticking.

Chocolate Covered Caramels
Chocolate Covered Caramels are soft, chewy, and PERFECT for the holidays, made with sugar, butter, vanilla, and heavy cream, then coated with sweet chocolate.
Ingredients
- 4 cups sugar
- 3 cups heavy cream
- 1 1/3 cups light corn syrup
- 1 cup unsalted butter
- 1/4 teaspoon kosher salt
- 1 tablespoon vanilla extract
- 12 ounces semisweet chocolate disks
Instructions
Add the sugar, heavy cream, corn syrup, butter and salt to a dutch oven (with a candy thermometer attached) on medium heat, whisking well until it comes to a boil, then lower the heat to medium low, whisking well until it reaches 250 degrees.
Turn off the heat and whisk in the vanilla extract then pour it into the baking pan and let it harden for 4-6 hours before cutting.
Place the caramels in the refrigerator for an hour before dipping to help keep them from melting before dipping.
Melt the chocolate disks in 30 second increments until completely smooth then with a fork dip then dip them into the chocolate and place them on a sheet of wax paper or parchment paper to harden.
Recipe Notes
Note: click on times in the instructions to start a kitchen timer while cooking.

chocolate covered caramels are my favorite things…and this recipe looks like I’ll like to try making it. However, you didn’t mention what size baking pan to put this in? I’m assuming a large (9×12?) due to the amount of ingredients involved, but don’t want to guess wrong. I’m also assuming that one should line the baking pan with parchment, or perhaps foil? I’ve found parchment to be my best friend in the kitchen…
Yes, sorry about that, I used a 9×12 baking sheet and lined it with parchment paper. I definitely consider it to be one of my best friends in the kitchen too, haha!
What size pan do you use? Do you butter it before pouring? what size do you cut the caramels?
Thanks.
I used a 9×12 baking pan and lined it with parchment paper. You can cut the caramels to any size you prefer. I like cutting them into 1-inch squares. That size is easier to handle for dipping. Hope this helps!
How many caramels does this recipe make?
Thankyou
60
Although the taste is great the caramels did not set properly. I’ve been making candy for quite a few years now and this is the first time I’ve had an issue. I checked my thermometer to make sure it was reading accurately and it was/is. Caramel should be brought up to 250 degrees, I think that’s where the issue is stemming from.
I’ll try to re-heat it tomorrow and re-work the sugar and see how it turns out.
You’re absolutely right. That was a typo that I didn’t catch. I’ve updated the recipe card so hopefully it sticks.
OMG they look perfecto! Better than store bought..superb
Thanks!
These caramels look perfect especially for someone with a sweet tooth like me. It would be great to give as a food gift!
I actually love giving these as client gifts! And you can decorate with a bit of melted chocolate drizzled over the top too for an easy decorative touch too!
Oh my gosh, I want 20 of these! They look so perfectly shaped and so delicious. Lovely for a chocolate-filled Valentine’s Day!
Oh my goodness these caramels look amazing!
Thanks! Hope you enjoy them!
So happy to find this recipe. I was looking for Valentine’s Day desserts and I’d love to make these.
Hope you love them!
Oh wow, I love chocolate and caramel together but never thought of making them myself. Your chocolates look amazing perfect for Valentines Day.
Thanks!
I can’t see where the butter comes in do you melt it along with the sugars
So sorry about that. I’ve edited to read correctly now in the recipe card. Thanks for catching that!